Your Final Walk-Through Checklist Before Closing on a Home
Your home-buying journey is nearly over. From searching for homes and touring homes online and in person to financing and closing on your home, you're nearly there! Before you close on your home, you will want to complete your final walk-through of the property. This is an essential step that can help prevent any surprises after you have taken ownership of the home. This final work-through guide will outline a checklist of items you should inspect during your final walk-through.
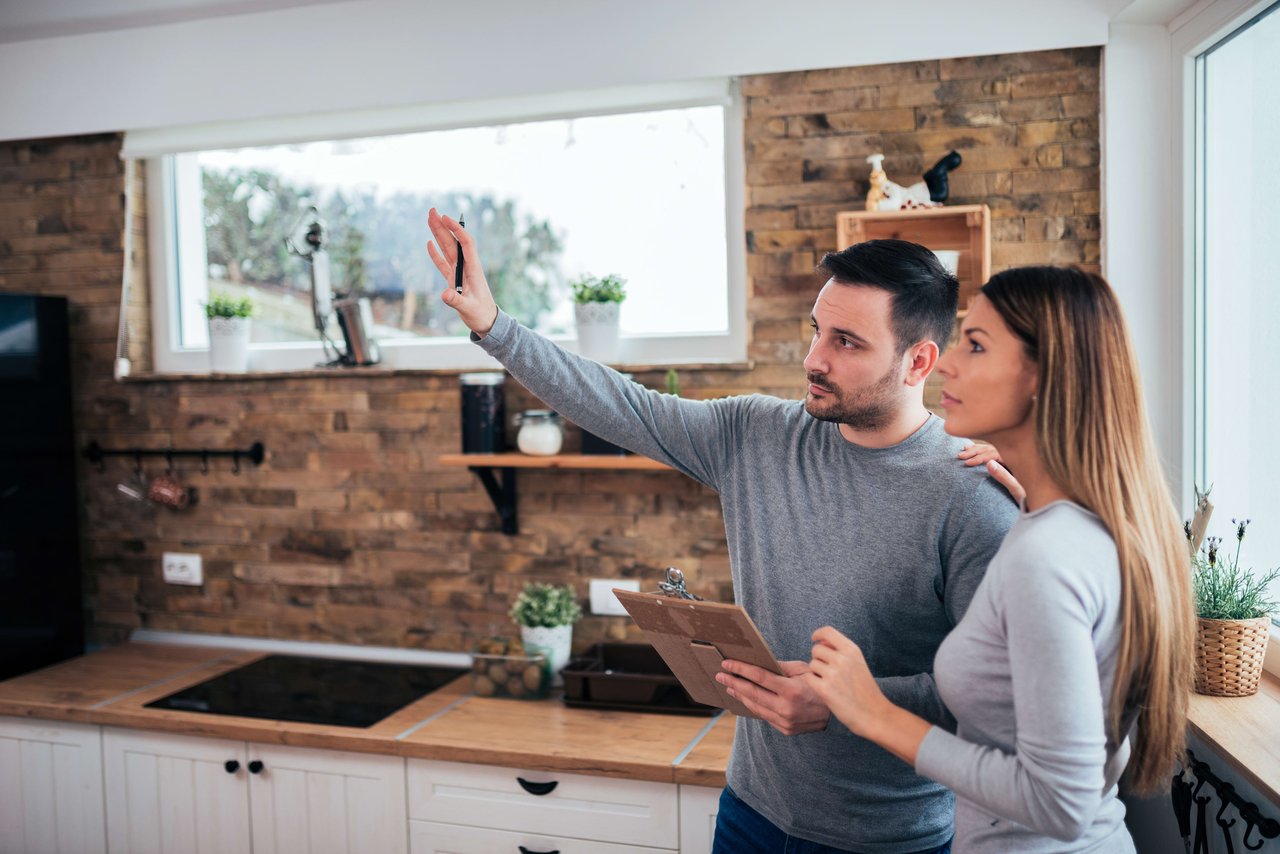
The final walk-through is an opportunity for you, as the buyer, to inspect the home one last time and ensure it's in the same condition as when you made your offer. During this inspection, you will want to check for any unexpected changes or discrepancies from what was agreed upon in the contract. This is your final opportunity to ensure that:
- All agreed-upon repairs have been completed.
- The home looks like it did when you toured it.
- Any appliances, fixtures, and systems are working correctly.
- That all possessions (such as window treatments, light fixtures or furniture) that were to remain with the house are still in place.
- All of your personal property has been removed if the seller was asked to do so.
This is a vital step in the home-buying process as it gives you one last chance to identify any problems that may have arisen since you made your offer.
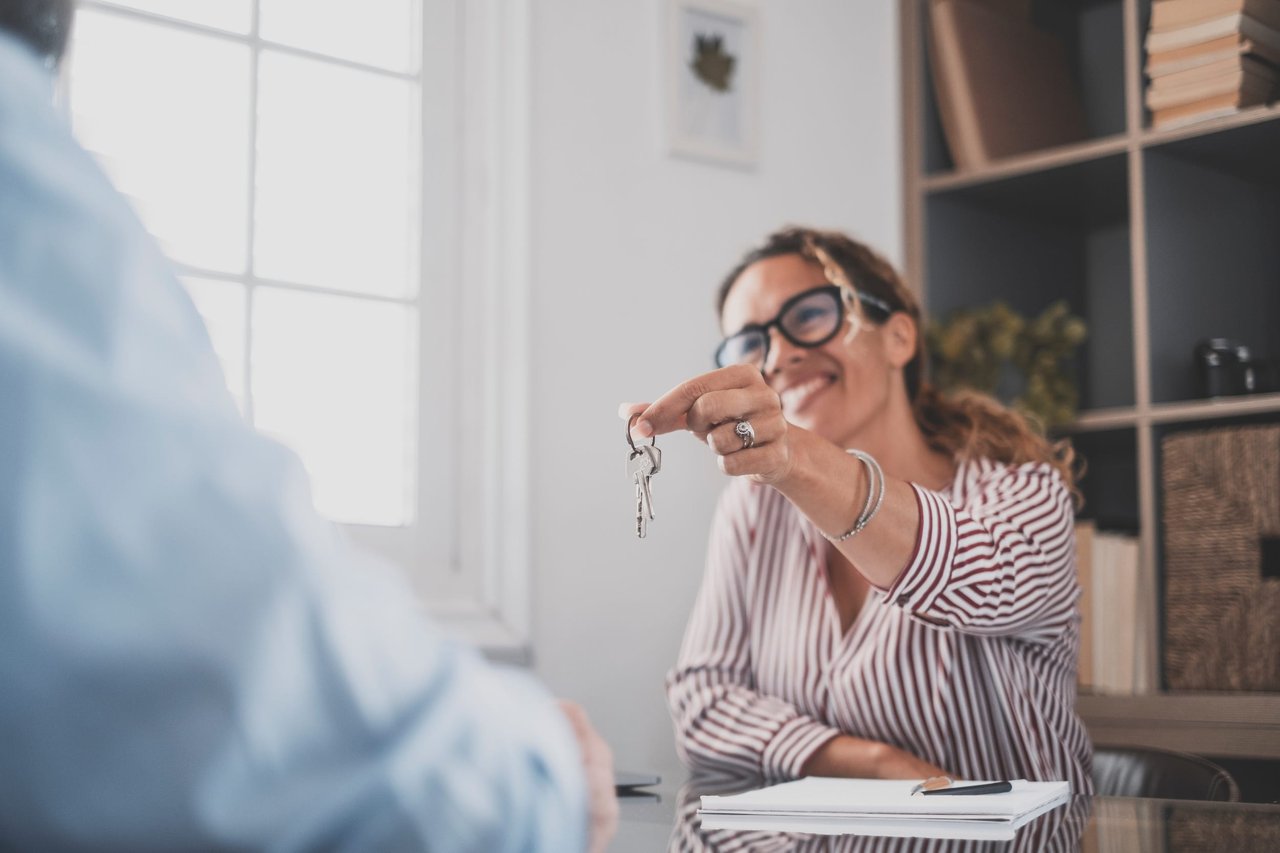
You and your real estate agent should be present at the walk-through inspection. This ensures that any issues can be noted, discussed, and addressed before closing on the home.
It is also a good idea (but optional) to bring in an inspector if you have any concerns about the home. This will give them a chance to review the condition of the property and can help ensure that you are making an informed decision before closing on the property.
What should I look for during my final walk-through?
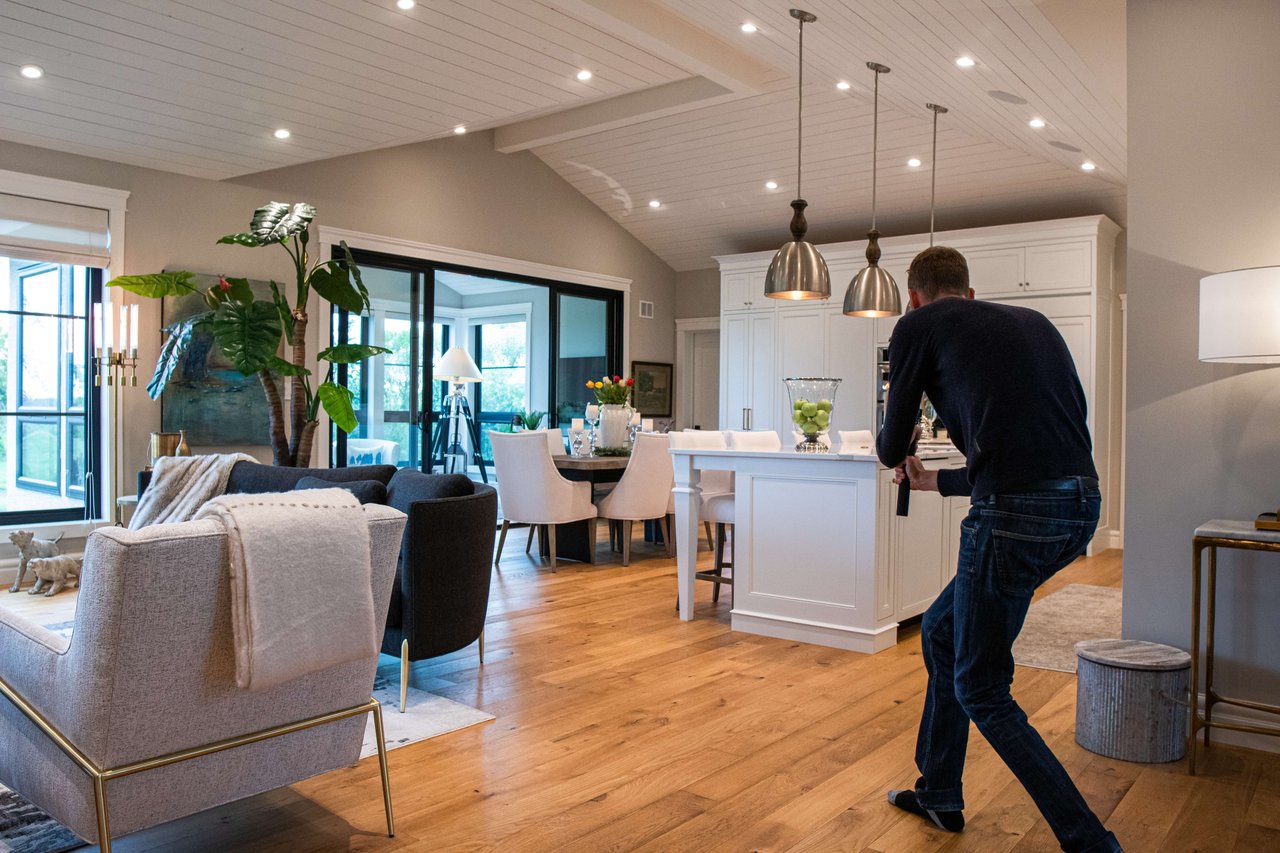
The final walk-through normally happens the day before closing on the home or as close to closing as possible. This gives you sufficient time to identify any issues and make sure that everything is in order before officially taking ownership of the property. At this time, the prior owner's possessions should have been removed and any agreed-upon repairs completed.
To get the most out of your final walk-through inspection, it's a good idea to bring a few items:
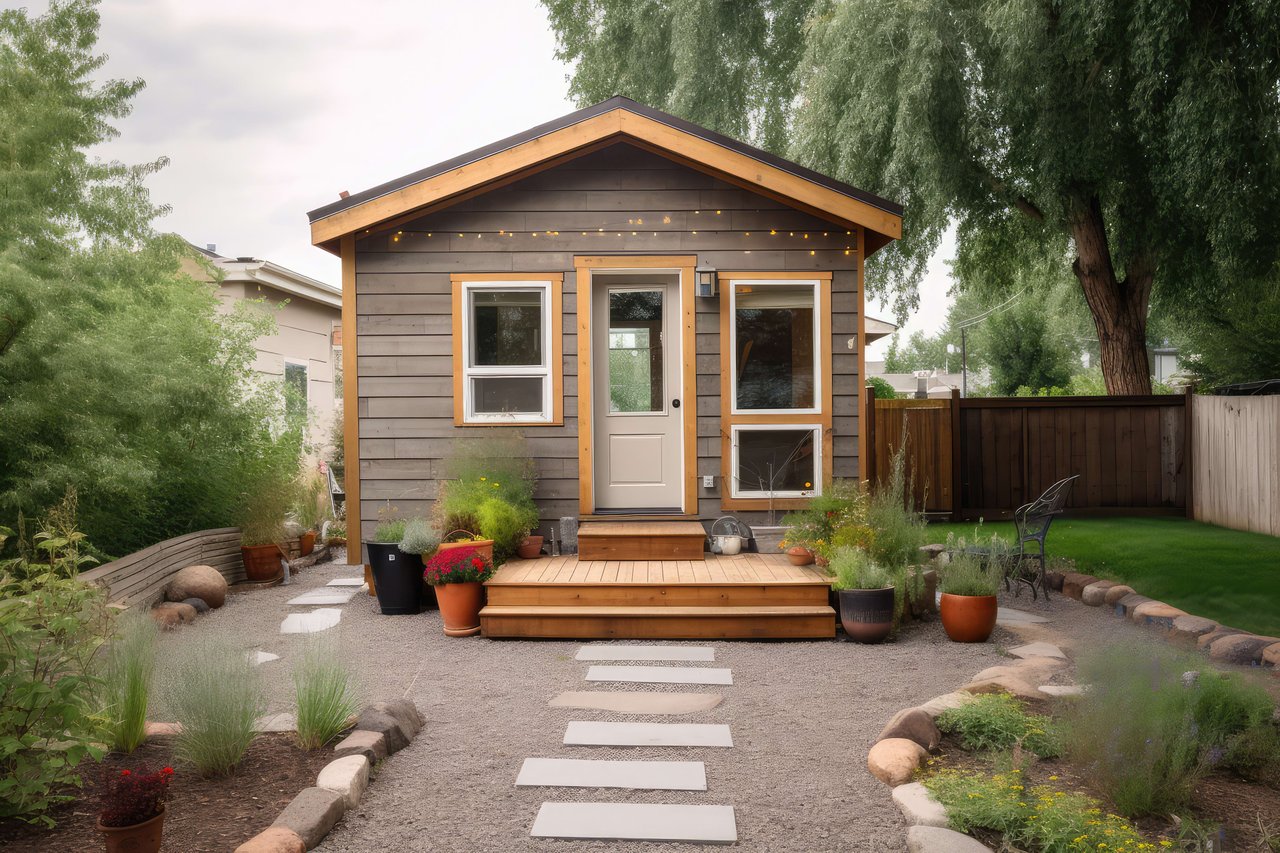
A walk-through typically takes around 30 minutes to an hour, depending on the size of the home and the number of items you are inspecting. A smaller home around 1,000 square feet can take 20 minutes or less, while a larger home may take up to 30-60 minutes to complete.
Now it's time to do your final walk-through inspection of the home. Here is a checklist of items that you should inspect during your final walk-through:
Taking the time to check off these items during your final walk-through will help ensure that you are making an informed decision before closing on the property and that everything is in order when you take ownership of the new home.
If you find any issues or discrepancies during your final walk-through checklist, it's important to address them as soon as possible. If the issue is something that can be taken care of before closing, make sure to speak with your real estate agent about having the seller make the repairs prior to signing final paperwork. If not, then you will need to decide whether the issue is significant enough to warrant not moving forward with the purchase or to move forward and take care of the repairs after closing. It's important to understand that you will be responsible for any repairs once you take ownership of the property, so it's best to make sure all issues are addressed before signing any documents.
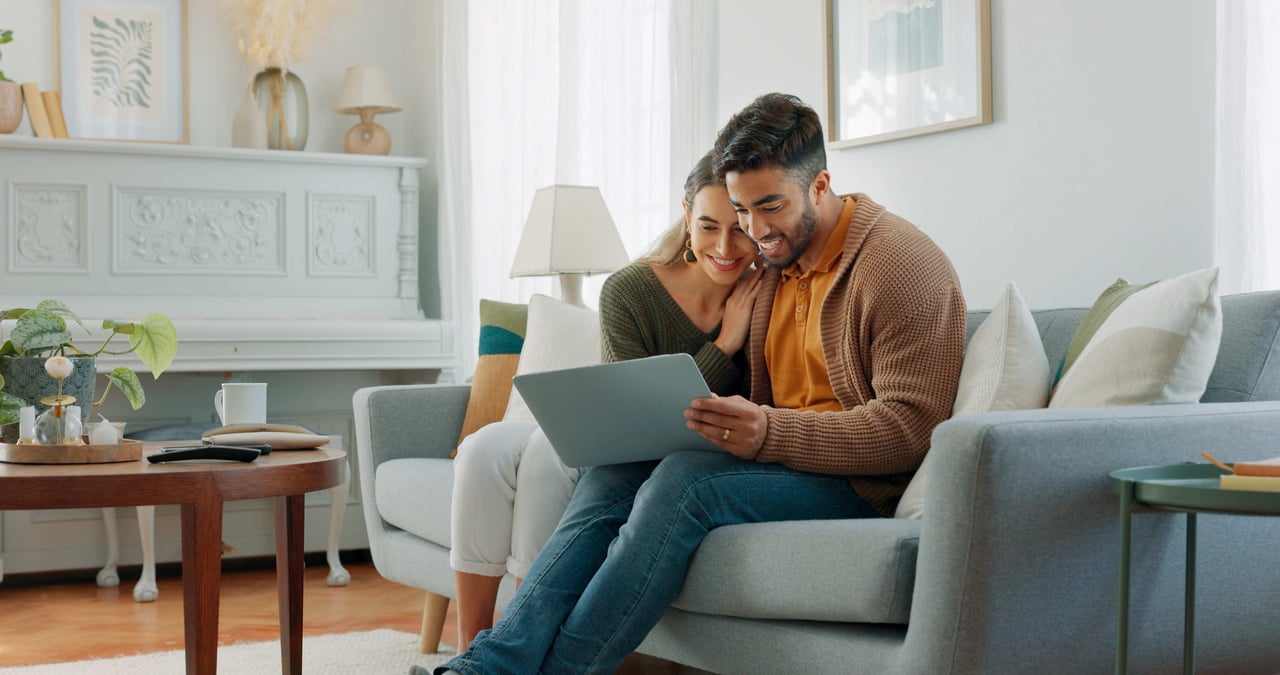
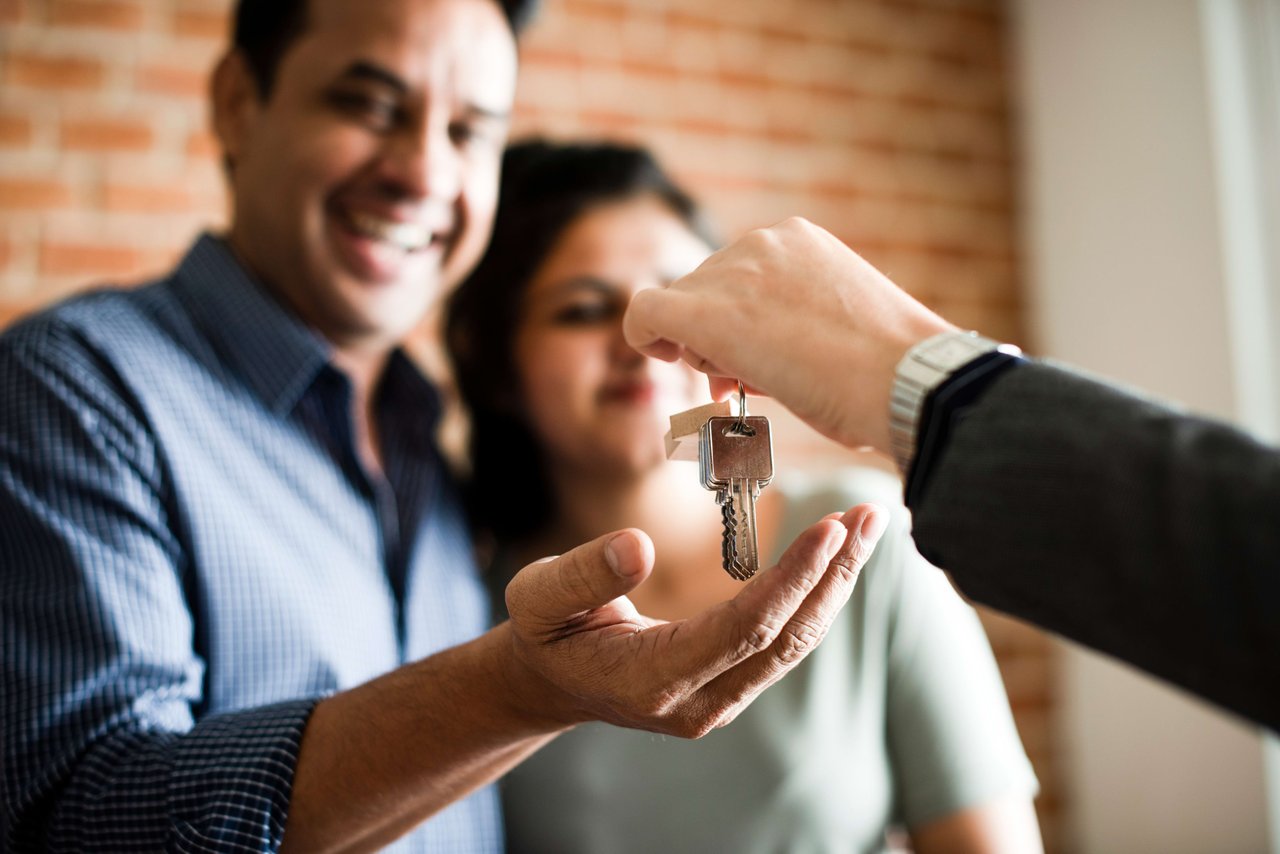
By completing a final work-through and using this walk-through checklist, you can ensure that you are making an informed decision when purchasing a home. This checklist will help you identify any potential issues that may arise after closing so that you can address them prior to signing the paperwork. Taking the time to go through this list will save you time, money, and headaches. Be sure to leverage the experience and knowledge of your real estate agent to help you with any concerns that may arise during the process. With this checklist in hand and a trusted real estate agent by your side, you can be sure to make the best decision for yourself and your family when buying a new home.
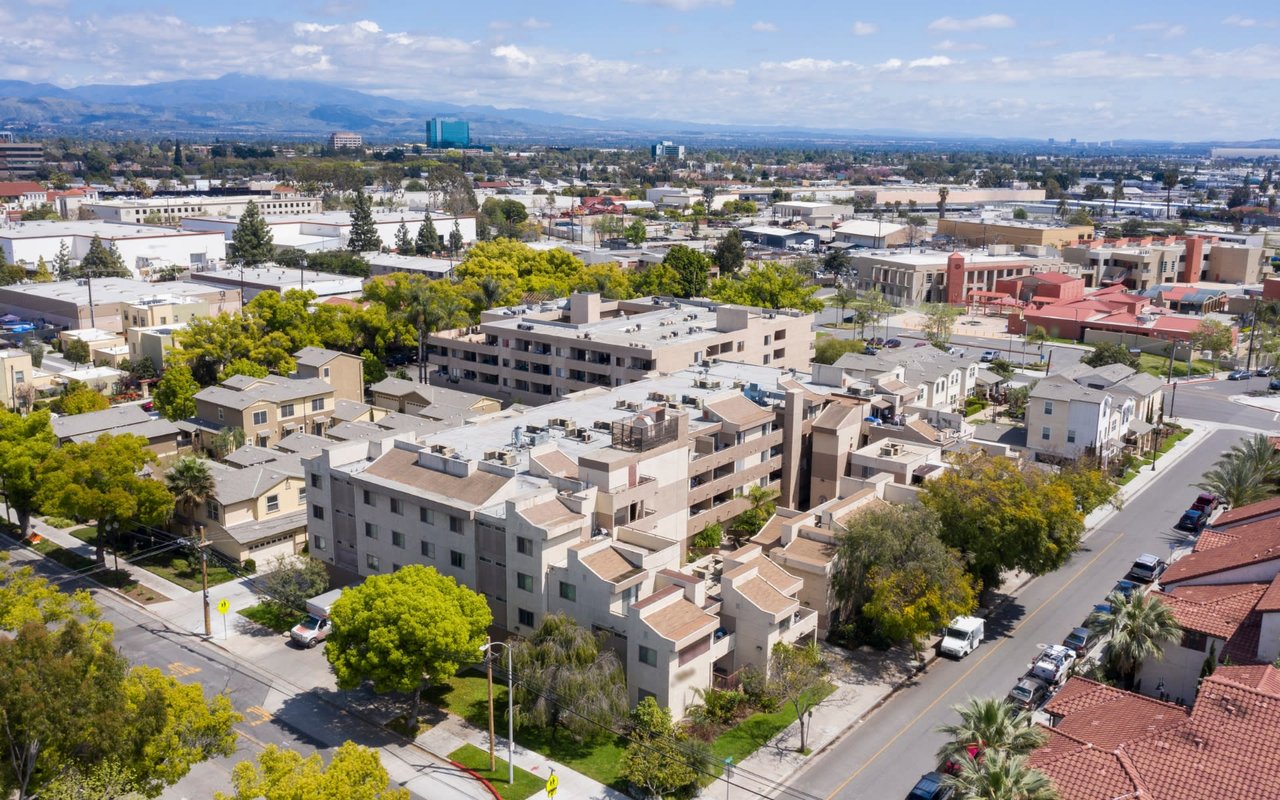
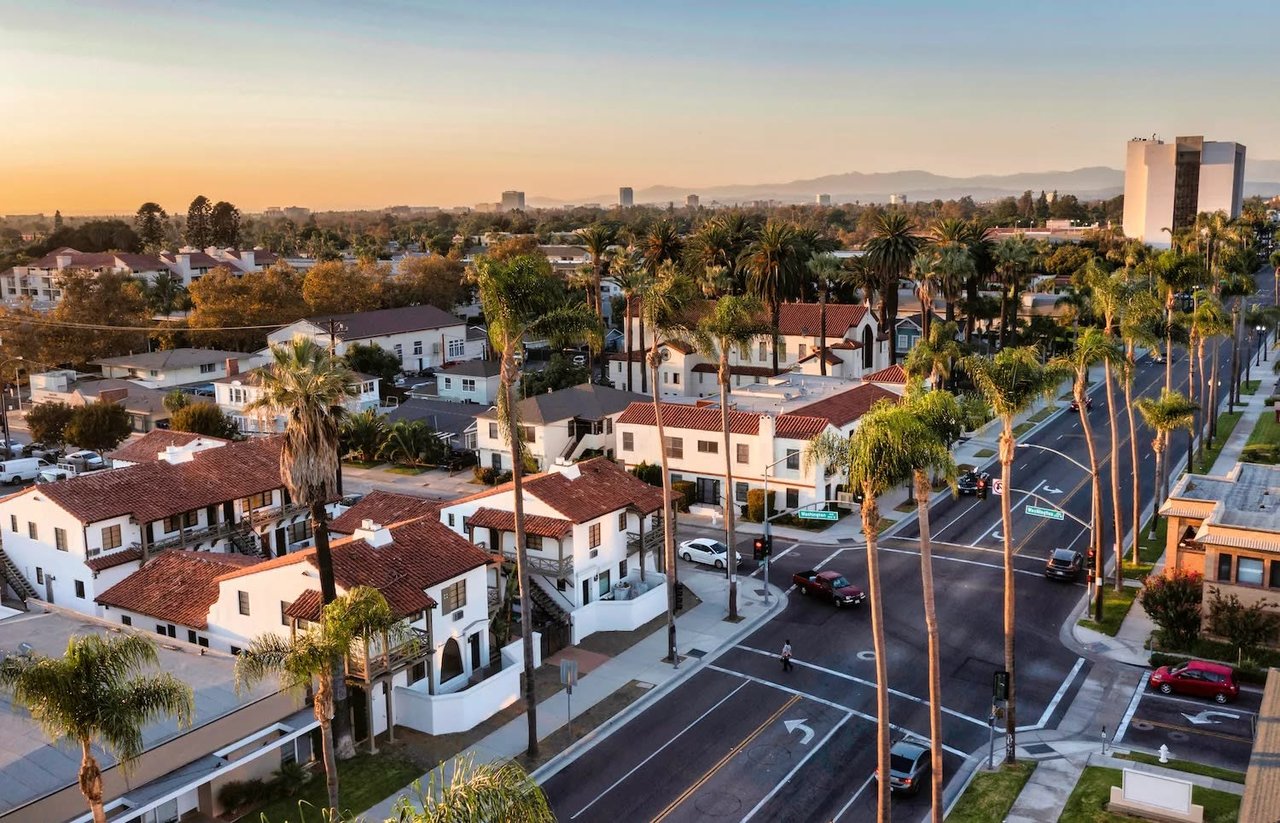
Searching for a home in Santa Ana, CA? Alvarez Realty Group is here to help you get started on finding the perfect home for you and your family. We are a full-service real estate firm that specializes in the Santa Ana area and can help you find a home that’s right for you. Pedro Alvarez, Noel Alverez and our team of professional agents have years of experience and can assist with everything from finding the perfect property to helping close the deal. Contact us today to get started on your home search!
Stay up to date on the latest real estate trends.
Selling

Local

Buying
Buying
Buying
Buying
Finance
Market Trends
Market Trends